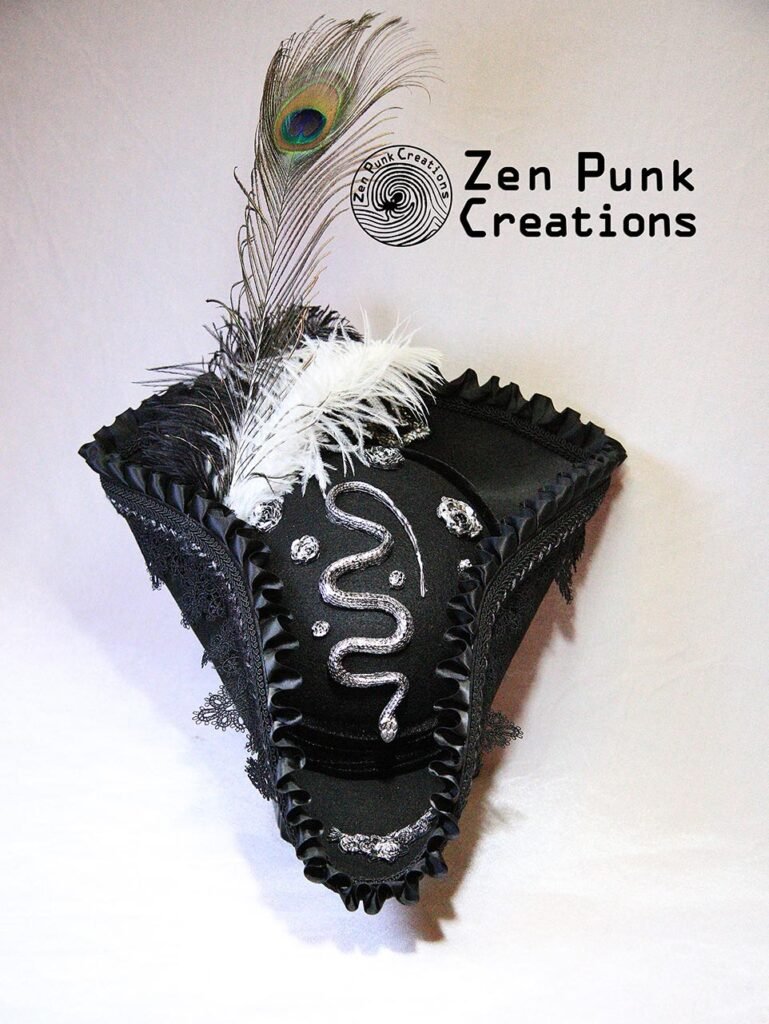
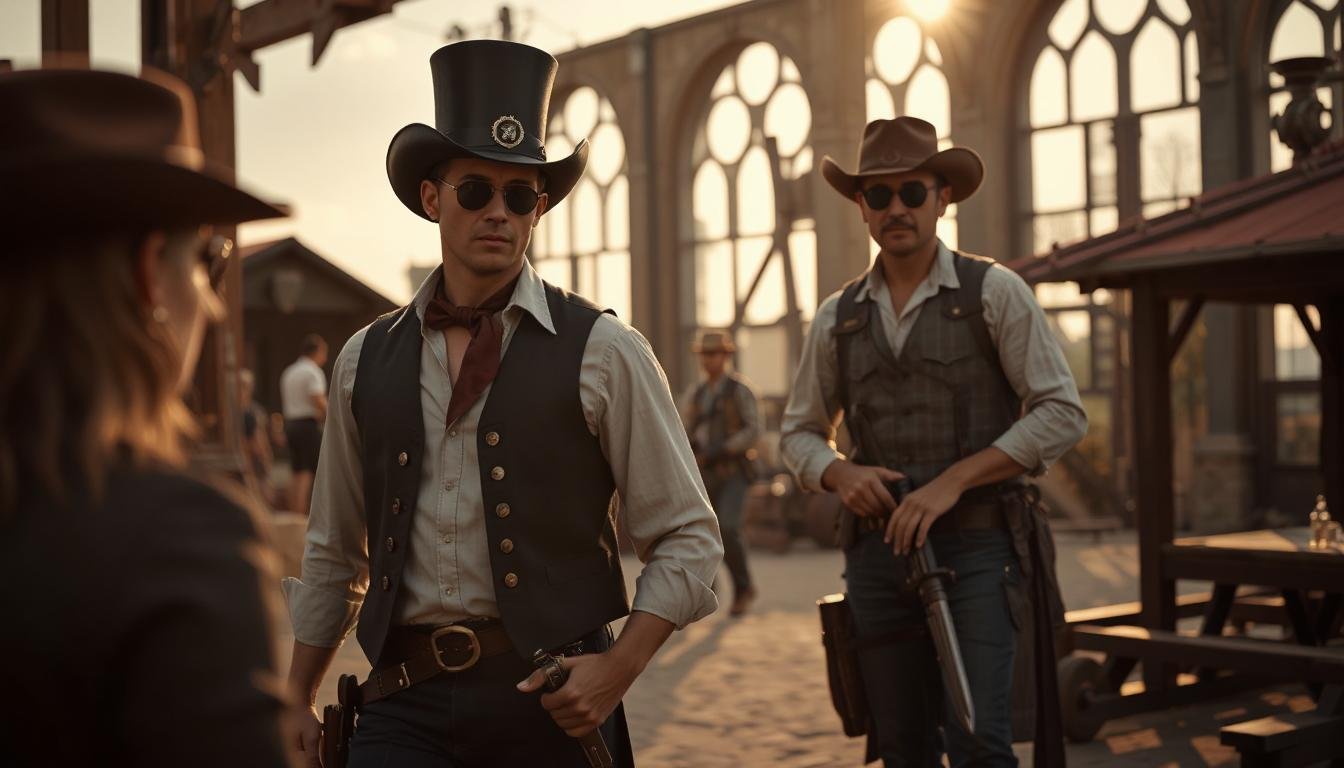
Ever gazed at your plain ol’ hat and thought, “Man, this thing needs a serious upgrade”? Trust me, I’ve been there. Walking into a steampunk convention or a cosplay event with a basic, unadorned hat is like showing up to a costume party in your everyday jeans and t-shirt—total buzzkill, right? You want to stand out, make a statement, maybe even turn a few gears—pun intended. Well, good news! I’m here to spill the beans on transforming that dull headpiece into a steampunk masterpiece that’ll have everyone asking where you got it.
So, how do you decorate a steampunk hat? It’s simpler than you might think. Start with a solid base—a top hat or bowler works wonders. Then, gather some quintessential steampunk elements like brass gears, clock hands, leather straps, and vintage trinkets. The idea is to mix the industrial with the Victorian. Attach these goodies using strong adhesive or some good ol’ stitching. Don’t forget to add your personal flair—maybe a pair of goggles or a feather plume. The sky’s the limit when it comes to creativity!
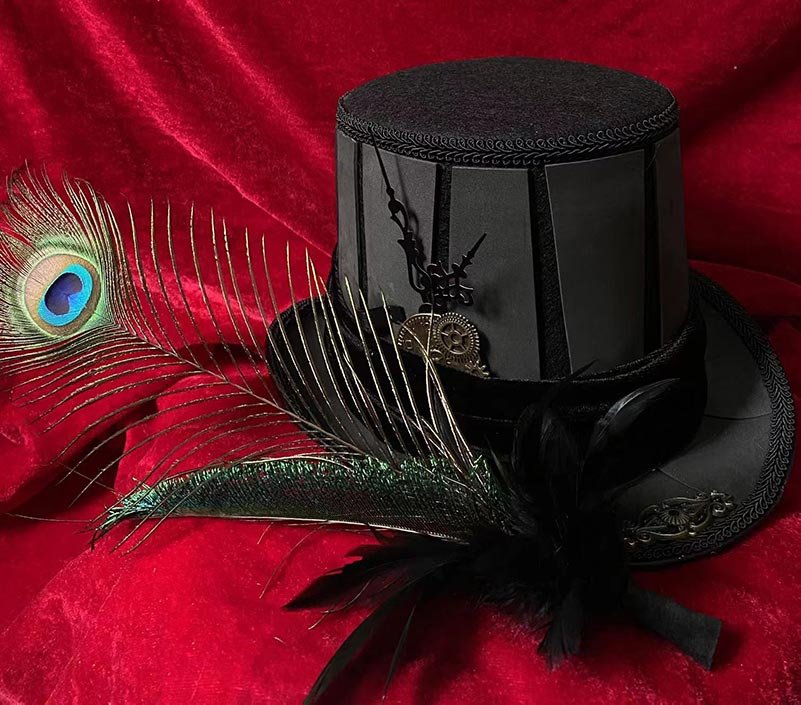
What Materials Do You Need to Steampunk Your Hat?
Alright, let’s get down to brass tacks—literally. The first step in any DIY project is gathering your materials. You’ll need:
- Base Hat: A top hat or bowler hat is traditional, but feel free to get creative. Even a cowboy hat can be steampunked!
- Brass Gears and Cogs: These are the bread and butter of steampunk design. You can find them at craft stores.
- Clock Hands and Watch Parts: Old or faux antique clock parts add that mechanical flair.
- Leather Straps and Buckles: Perfect for adding layers and texture.
- Goggles: No steampunk outfit is complete without goggles.
- Feathers, Lace, and Fabric: For that Victorian touch, add some elegance with these materials.
- Adhesives and Tools: Strong glue like E6000, sewing needles, thread, scissors, and maybe a hot glue gun if you’re feeling adventurous.
If you’re on a budget, thrift stores and garage sales are gold mines for finding unique items.
Step-by-Step Guide to Decorating Your Hat
Now that you’ve got your loot, let’s assemble this bad boy.
- Plan Your Design: Before you start gluing stuff willy-nilly, lay out your pieces on the hat to get a feel for the placement.
- Attach the Goggles: If you’re adding goggles, they usually go around the base of the hat. You can secure them with a leather strap or elastic band.
- Add the Gears and Cogs: Begin layering your gears and cogs. Overlapping them gives a more complex, mechanical look. Use strong adhesive or sew them on for extra security.
- Incorporate Clock Hands: These can stick out from the sides or front, giving the impression of a ticking timepiece.
- Leather Straps and Buckles: Wrap these around the hat or create faux chin straps. They add depth and texture.
- Victorian Elements: Add feathers, lace, or even a cameo brooch to blend the industrial with the elegant.
- Finishing Touches: Maybe sprinkle some faux rust or patina to give it that aged look. A little bit of weathering goes a long way.
Pro Tips for a Standout Steampunk Hat
Want to take your hat to the next level? Here are some pro tips:
- LED Lights: Incorporate small LED lights to make your hat literally shine.
- Moving Parts: If you’re mechanically inclined, add moving gears powered by small motors. This is sure to impress!
- Personalized Elements: Add initials, symbols, or items that reflect your personality or cosplay character.
- Mix Metals: Don’t just stick to brass; incorporate copper and silver elements for a richer look.
- Use Weathering Techniques: Apply methods like dry brushing to simulate wear and tear.
Common Mistakes to Avoid
Even the best of us can slip up. Here are some pitfalls to steer clear of:
- Overloading the Hat: While more is more in steampunk, too many heavy items can make the hat uncomfortable to wear.
- Poor Adhesion: Using weak glue can result in pieces falling off mid-event—not a good look.
- Ignoring Balance: Make sure the weight is evenly distributed to prevent the hat from tipping.
- Clashing Styles: Try to maintain a cohesive theme—mixing too many elements can make the design look chaotic.
Avoid these, and you’re golden!
Where to Find Inspiration and Materials
Feeling stuck? Inspiration is all around you.
- Steampunk Conventions: Events like the Steampunk World’s Fair are great places to see amazing creations.
- Online Communities: Join forums like Brass Goggles or subreddits like r/Steampunk for ideas and advice.
- Social Media: Platforms like Pinterest and Instagram are overflowing with creative designs.
- Movies and Books: Re-watch classics like Sherlock Holmes or Wild Wild West for aesthetic cues.
As for materials, besides the earlier mentioned stores, don’t forget to check out:
- Etsy: For unique, handmade items.
- eBay: Great for bulk buying gears and parts.
- Local Thrift Shops: You’d be surprised what treasures you can find!
Frequently Asked Questions
Can I Use Alternative Materials?
Absolutely! Steampunk is all about innovation. Don’t have brass gears? No problem. Use bottle caps, nuts and bolts, or even 3D-printed parts.
How Do I Secure Heavy Items?
If you’re adding heavier elements like pocket watches or metal ornaments, you’ll want to ensure they stay put. Consider using industrial-strength adhesives or sewing them on with sturdy thread. For extra security, you might even use small screws or rivets—just be careful not to damage the hat.
Is It Necessary to Weather My Hat?
Not necessarily, but weathering adds authenticity. If you want your hat to look like it’s been through time and space, applying techniques like tea staining for fabrics or rub-and-buff for metals can give it that aged, vintage feel.
Share Your Creations!
I’d love to see what you come up with! Feel free to tag us on social media @ZenpunkCreations or use the hashtag #ZenpunkHats. Let’s build this steampunk community together!
Need Help? We’re Here for You
If you’re feeling overwhelmed or just need some expert advice, don’t hesitate to reach out. My team and I at Zenpunk Creations are always happy to assist fellow enthusiasts. Drop us a line at contact us, and let’s make some steampunk magic happen!
Final Thoughts
Decorating a steampunk hat is not just a craft—it’s an adventure. It’s about expressing yourself and immersing into a world where the past and future collide. So go ahead, unleash your creativity, and let your hat tell your story. Who knows? You might just inspire someone else to join the steampunk revolution!
Conclusion
Well, there you have it—a complete guide to transforming a simple hat into a steampunk sensation. Now, it’s your turn to take the plunge. Grab that hat, fire up your glue gun, and let your imagination run wild. Trust me, when you walk into your next event sporting your custom creation, you’ll be the talk of the town—or should I say the empire?
